1.Intent
Intent란
Intent는 다른 앱 구성 요소(액티비티, 서비스, Broadcast Receiver, 콘텐츠 제공자)로부터 작업을 요청할 때 사용하는 메시징 객체이다.
액티비티 시작
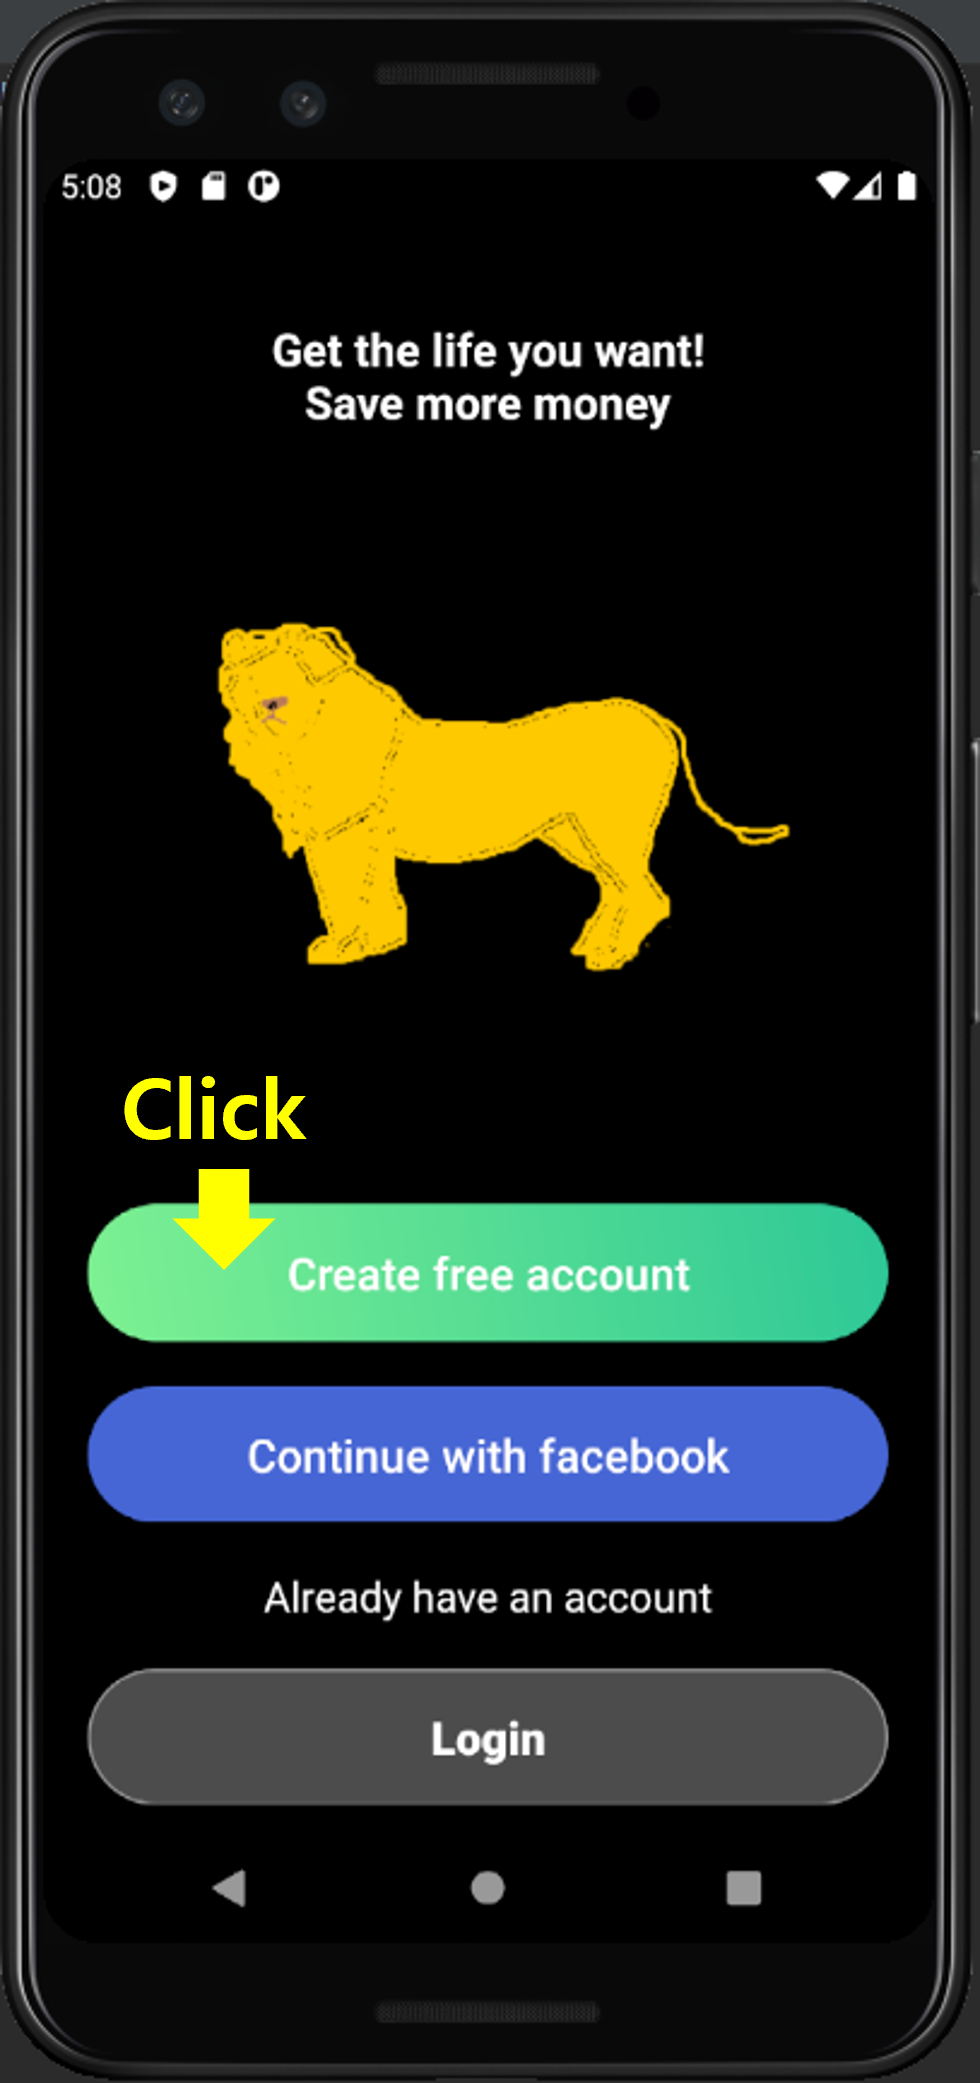
액티비티 시작은 Intent로 구성 요소간 통신을 촉진하는 방식 중 하나이다. Activity는 앱 안의 단일 화면을 나타낸다. Activity의 새 인스턴스를 시작(다른 화면으로 이동)하려면 startActivity()로 intent를 전달한다. 이 때 intent에는 시작할 Activity의 필수 데이터를 담는다.

class MainActivity : AppCompatActivity() {

    //뷰 바인딩
    private var mBinding: ActivityMainBinding? = null
    private val binding get() = mBinding!!

    override fun onCreate(savedInstanceState: Bundle?) {
        super.onCreate(savedInstanceState)
        mBinding = ActivityMainBinding.inflate(layoutInflater)
        setContentView(binding.root)

        //btnAccnt클릭 시 subActivity로 이동 , 상단 왼쪽 이미지
        binding.btnAccnt.setOnClickListener{

            //intent 생성
            val intent = Intent(this,SubActivity::class.java)

            //btnAccnt내용 전달 , "create free account" 전달
            intent.putExtra("msg",binding.btnAccnt.text.toString())

            //액티비티 시작
            startActivity(intent)
         }

        //btncont클릭 시 sub2Activity로 이동
        binding.btncont.setOnClickListener{
            val intent = Intent(this,Sub2Activity::class.java)
            startActivity(intent)

            //mainActivity 종료
            finish()
        }

    }

    override fun onDestroy() {
        mBinding = null
        super.onDestroy()
    }

}
2.RecyclerView
RecyclerView란?
대량의 데이터 세트가 제공될 때 정의된 각 항목의 요소를 필요할 때 동적으로 생성해주는 라이브러리이다.
RecyclerView 와 ListView의 차이
동일한 구조의 데이터가 다량으로 제공될 때 ListView의 경우 데이터 수만큼 뷰 객체를 생성하고 삭제한다. 반면 RecyclerView는 적정 수의 객체를 생성한 후 재사용 한다. 이러한 점에서 앱의 응답성을 개선하고 전력소모를 줄인다.

리스트 데이터를 표시하기 위해 RecyclerView를 사용할 때 몇 가지 파일을 추가해야한다.
1. 리스트 데이터 class : Profiles.kt
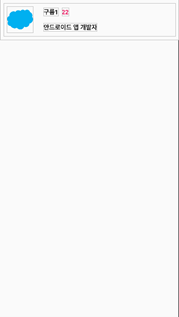
class Profiles (val type: Int, val name: String , val age: Int, val job: String )2. 데이터의 레이아웃 (뷰) : list_item.xml
상단 가운데 이미지의 xml 파일3. 리스트 데이터의 값과 화면 : SubActivity.kt
class SubActivity : AppCompatActivity() {
// 뷰 바인딩
private var mBinding: ActivitySubBinding? = null
private val binding get() = mBinding!!
override fun onCreate(savedInstanceState: Bundle?) {
super.onCreate(savedInstanceState)
mBinding = ActivitySubBinding.inflate(layoutInflater)
setContentView(binding.root)
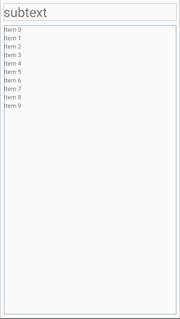
//MainActivity의 intent로부터 전달 받음 , "subtext" > "create free account"
if(intent.hasExtra("msg")){
binding.textView.text= intent.getStringExtra("msg")
}
//리스트 데이터의 값
val profileList = arrayListOf(
Profiles(R.drawable.cloud,"구름1",22,"안드로이드 앱 개발자"),
Profiles(R.drawable.sun,"해2",21,"아이폰 앱 개발자"),
Profiles(R.drawable.star,"별3",20,"알고리즘 개발자"),
Profiles(R.drawable.moon,"달4",24,"딥러닝 개발자"),
Profiles(R.drawable.moon,"달5",23,"웹 개발자"),
Profiles(R.drawable.star,"별6",23,"유니티 개발자"),
Profiles(R.drawable.sun,"해7",25,"시스템 개발자"),
Profiles(R.drawable.sun,"해8",26,"클라우드 개발자"),
Profiles(R.drawable.cloud,"구름9",27,"서버 개발자"),
Profiles(R.drawable.star,"별10",22,"OS 개발자"),
)
binding.rvProfile.layoutManager = LinearLayoutManager(this, LinearLayoutManager.VERTICAL, false)
binding.rvProfile.setHasFixedSize(true)
//Adapter를 이용해 데이터 값과 뷰 연결
binding.rvProfile.adapter = ProfileAdapter(profileList)
}
override fun onDestroy() {
mBinding = null
super.onDestroy()
}
}4. SubActivity의 레이아웃 : Activity_sub.xml
상단 왼쪽 이미지의 xml 파일5. 리스트 데이터와 뷰를 연결하는 Adapter 파일 : profileAdapter.kt
//뷰와 연결할 리스트 데이터를 입력 받는다.
class ProfileAdapter (val profileList: ArrayList<Profiles>) : RecyclerView.Adapter<ProfileAdapter.CustomViewHolder>(){

    // 뷰 객체를 담고 있는 뷰 홀더를 반환한다.
    override fun onCreateViewHolder(parent: ViewGroup,viewType: Int): ProfileAdapter.CustomViewHolder {
        val view = LayoutInflater.from(parent.context).inflate(R.layout.list_item,parent,false)
        return CustomViewHolder(view).apply {
           // 뷰 클릭 시 토스트 효과
            itemView.setOnClickListener {
                var curPos : Int = adapterPosition
                var profile: Profiles = profileList.get(curPos)
                Toast.makeText(parent.context, "name : ${profile.name},\n age : ${profile.age},\n job : ${profile.job}", Toast.LENGTH_LONG).show()
            }
        }

    }

//뷰 홀더와 리스트 데이터 값을 연동한다.
    override fun onBindViewHolder(holder: ProfileAdapter.CustomViewHolder, position: Int) {
        holder.type.setImageResource(profileList.get(position).type)
        holder.name.text= profileList.get(position).name
        holder.age.text= profileList.get(position).age.toString()
        holder.job.text= profileList.get(position).job
    }

//데이터의 전체 길이를 반환한다.
    override fun getItemCount(): Int {
        return profileList.size
    }

//뷰 객체를 담는 뷰 홀더 생성자
    class CustomViewHolder(itemView:View): RecyclerView.ViewHolder(itemView) {
        val type = itemView.findViewById<ImageView>(R.id.ivProfile)
        val name = itemView.findViewById<TextView>(R.id.tvName)
        val age = itemView.findViewById<TextView>(R.id.tvAge)
        val job = itemView.findViewById<TextView>(R.id.tvJob)
    }

}- onCreateViewHolder: 뷰 객체를 담는 뷰 홀더를 반환 하는 함수이다. 뷰 객체를 재활용 하기 때문에 호출 횟수는 13~15회이다. 실습 기준으로 변수 view에는 데이터 레이아웃(list_item.xml)이 할당된다.
- CustomViewHolder: onCreatViewHolder에서 view(list_item.xml)를 넘겨 받아 뷰 홀더를 생성한다.
- onBindViewHolder: CustomViewHolder로 생성된 뷰 홀더와 profiles(데이터)의 리스트를 넘겨 받아 뷰와 데이터를 연동 한다.
- getItemCount: 리스트 데이터의 전체 길이를 반환한다.
'Group Study (2021-2022) > Android' 카테고리의 다른 글
| [Android] 6주차 스터디 - FCM (Firebase Cloud Messaging) (0) | 2021.11.14 |
|---|---|
| [Android]5주차 스터디 - material design , Retrofit2 (0) | 2021.11.07 |
| [Android] 4주차 스터디 - 클론 코딩 진행 상황, 인상 깊었던 내용 (0) | 2021.11.02 |
| [Android] 3주차 스터디 - Camera, Firebase (0) | 2021.10.16 |
| [Android] 1주차 스터디 - Widget, Layout, Android Activity Cycle (0) | 2021.10.03 |